A finished-bag dimension needs more than a number. The tech pack must define the bag state, the start and end landmarks, the measurement path and the parts included in the result. Otherwise a buyer, sample room and inspector can measure the same bag correctly according to three different interpretations.
Start by separating finished dimensions from pattern or cut-part dimensions. Then decide whether the bag is measured flat, naturally standing, supported or filled with a defined reference load. Add an annotated point-of-measure diagram and a written method for every dimension that affects capacity, fit, access or alignment. Tolerances come after the method is controlled.
Table of Contents
A number by itself is not a finished-bag specification
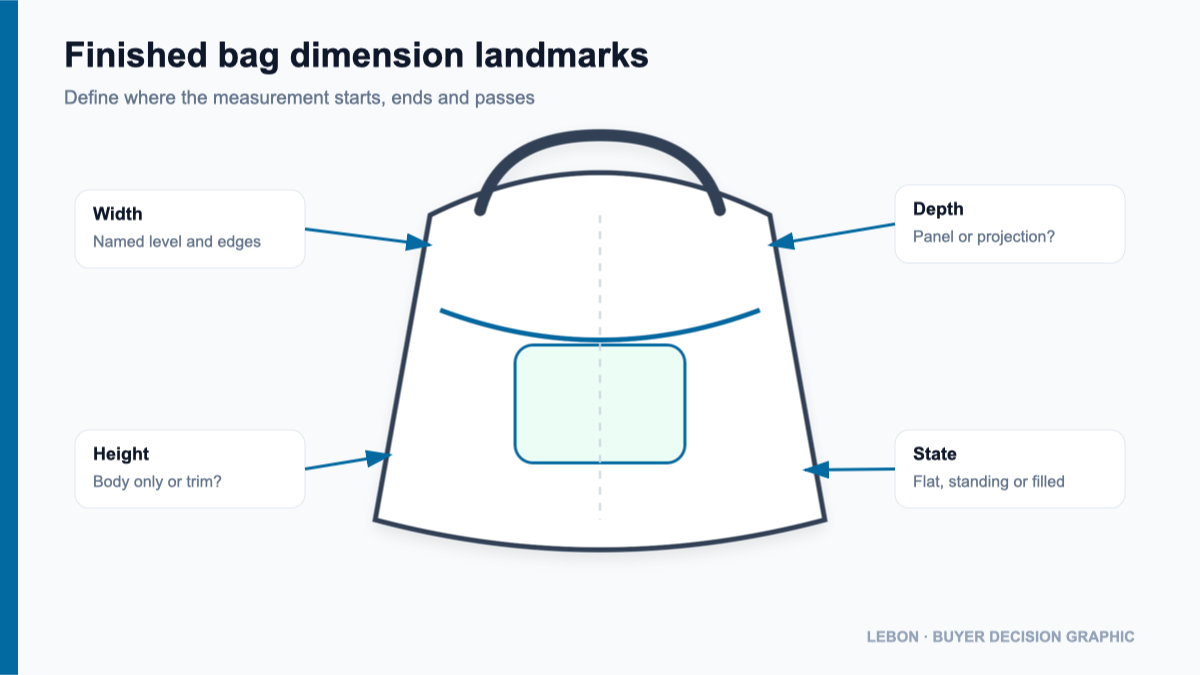
“Bag size: 40 × 30 × 12 cm” appears clear, but it leaves important decisions open:
- Is width measured across the top opening, the widest body point or the base panel?
- Does height include the handle, zipper arch, binding or only the body?
- Is depth the gusset panel width, the finished side-wall projection or the maximum filled depth?
- Is the bag empty, flattened, standing naturally or filled?
- Are curved edges followed with the tape, or projected between two landmarks?
- Is the tape applied straight, under light contact or pulled until the panel is smooth?
The factory needs the design intent behind the number. The inspector needs a repeatable procedure. The buyer needs to know which dimension protects product fit or customer use.
Separate finished dimensions from pattern dimensions
Pattern pieces are production inputs. Finished dimensions are product outputs. They are related, but they are not interchangeable.
A cut panel may include seam allowance, turn-of-cloth allowance, binding allowance or material that disappears into a seam. A finished gusset may not project to the full cut width because its edges curve, fold or roll into the adjoining panels. Padding and lining can also change the internal space without changing the nominal outside dimension.
For quotation and sample approval, identify finished dimensions as finished measurements. If pattern or cut dimensions are also required, place them on a separate construction or pattern page. Mixing both types in one measurement table invites the sample room to treat the wrong value as the approval target.
Define the measurement state before defining width, height and depth
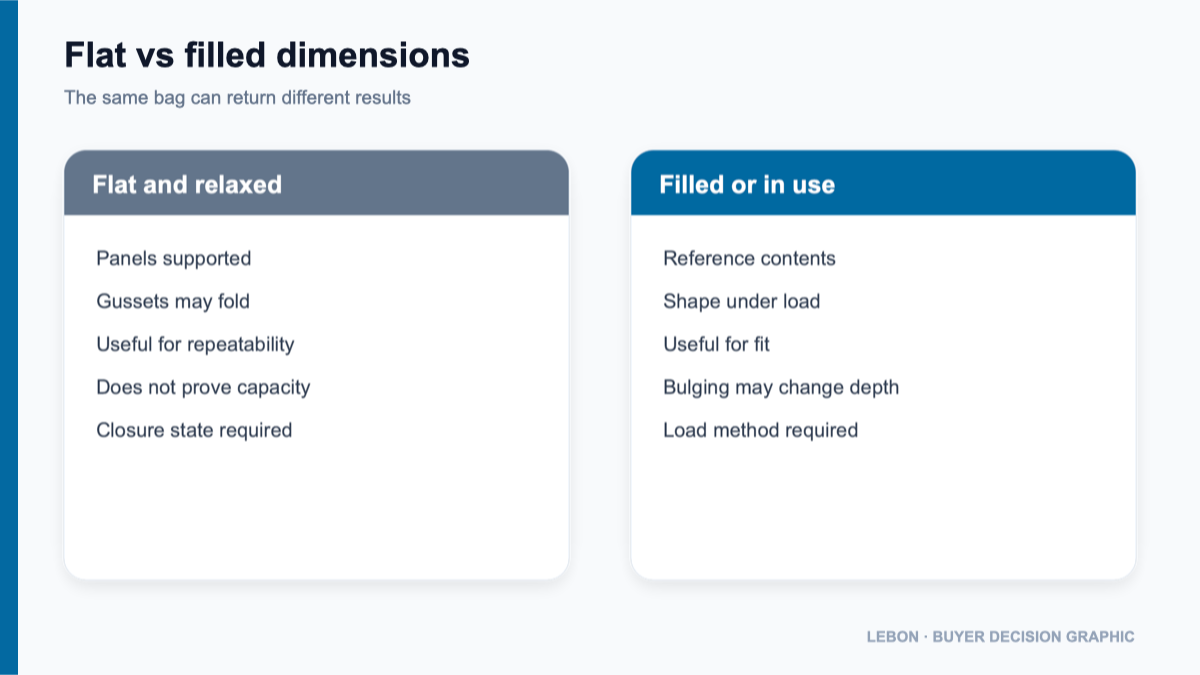
Soft bags do not hold one geometry in every condition. An unstructured tote can spread wider and become shorter when flattened. A padded case may spring back when released. A duffel can lengthen or bulge when filled. A zipper opening may pull the top edge into a different curve when closed.
Use one stated condition for each point of measure:
- Flat and relaxed: placed on a surface without stretching or compressing the panel.
- Naturally standing: allowed to take its own shape, without hidden supports.
- Supported: held in a defined position so the same landmarks can be reached.
- Filled: loaded with a specified reference item, fixture or filling method.
- 닫기d or open: zipper, flap, buckle and compression features set as stated.
The correct state depends on the buyer problem. A device sleeve should be checked in the condition that represents device insertion and closure. Overall appearance may be reviewed naturally standing. A flat promotional tote may be most repeatable when relaxed on a table.
Define width using the part of the bag that matters
The top, middle and bottom of a bag may have different widths. A tapered tote can have a wide opening and a narrow base. A barrel bag may be widest through its curved middle. A bag with side seams that roll toward the front can make “seam to seam” different from the apparent front width.
Choose a width definition that protects the intended function:
- opening width for access;
- internal clear width for product fit;
- body width at a named height for silhouette;
- base width for standing footprint;
- panel width between construction seams for pattern relationship.
Mark the measurement line on the drawing. If it is taken at a stated distance above the base or below the opening, include that locator dimension as well.
Define height without accidentally including trim
Common height disagreements come from the top construction. One person measures to the highest zipper curve, another to the body edge, and another to the top of the binding. Handles and shoulder straps should normally have their own measurements rather than being absorbed into overall body height.
State the lower landmark too. The bottom may be a fold, a piping centerline, a base seam or the lowest natural point of a rounded panel. On a bag with feet or molded protection, decide whether those parts are included in overall external height.
When usable internal height matters, define it separately. Outside height does not automatically equal internal clear height after foam, seams, zipper tape and base structure are assembled.
Define depth according to the construction
Depth is especially easy to misread because “gusset width” can describe a panel, a finished side wall or the maximum projection of a filled bag.
For a rectangular case, the finished outside depth may be measured between the front and back faces at a named position. For a tote with a bottom gusset, the useful decision may be the opened base depth. For a soft duffel, maximum filled depth may matter more than the relaxed empty profile.
Do not assume a nominal gusset panel width becomes the same finished external depth. Seam take-up, piping, padding, curved joins and the way the bag is filled all affect the result.
Build every measurement row from the same five elements
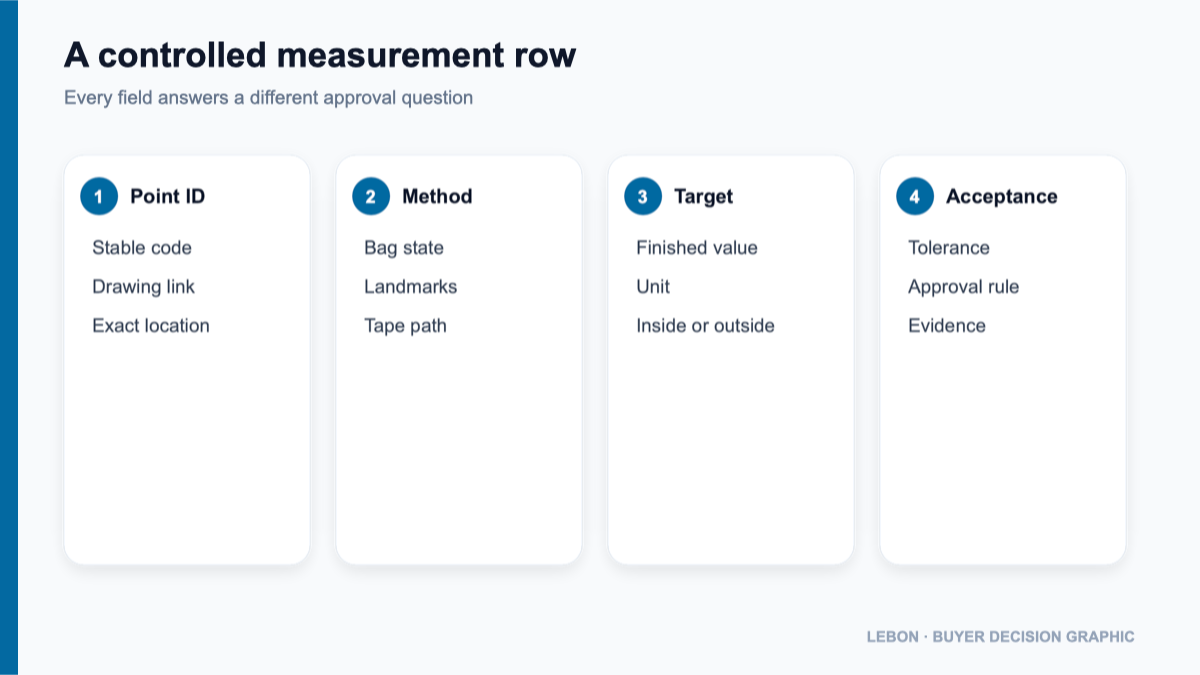
A usable measurement row contains:
- Point ID: a stable code that also appears on the drawing.
- Measurement name: a short description of the controlled feature.
- Method: landmarks, path, bag state and closure condition.
- Target: the intended finished result and unit.
- Acceptance rule: tolerance or another approved evaluation method.
If one point requires a special fixture, reference load or photograph, identify that supporting record in the row. Avoid separate files named “latest measurements” that are not tied to the tech-pack revision.
Set tolerances only after the method is repeatable
A tighter tolerance does not repair an ambiguous measurement. It can make the argument worse because method variation is then mistaken for production variation.
First ask two people to measure the same sample using the proposed instruction. If their results differ because they chose different landmarks, bag states or tape paths, improve the method. Then classify the point by consequence:
- interface and fit dimensions;
- functional dimensions such as opening or adjustment range;
- relationship dimensions such as paired pocket alignment;
- general silhouette or appearance dimensions.
The appropriate control depends on material behavior, construction and consequence. There is no responsible universal tolerance for every soft-bag dimension. The related guide on setting dimensional tolerances for soft bags explains this decision in more detail.
What buyers should send to the factory
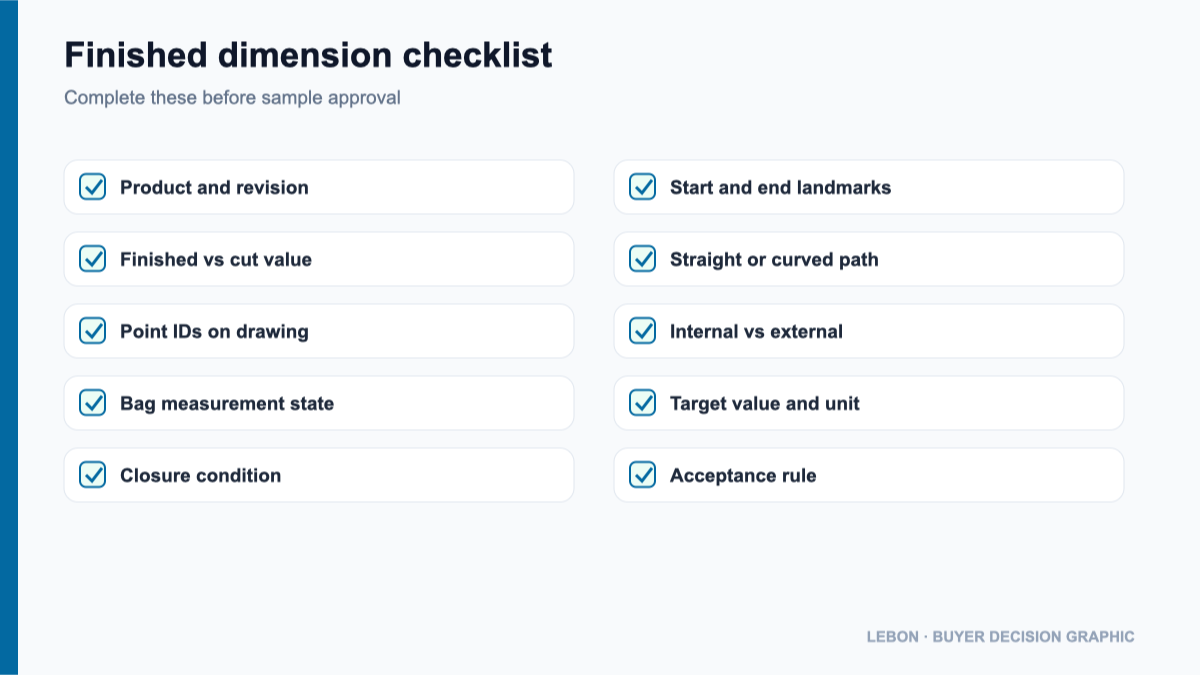
Before requesting a sample or revised quotation, send:
- the current tech-pack revision and product code;
- annotated views showing every point ID;
- a measurement table with targets, units and methods;
- bag state and closure condition;
- internal versus external dimension labels;
- critical contents, device sizes or fit interfaces;
- any fixture, reference load or support method;
- unresolved points requiring the manufacturer’s proposal;
- approval status of the latest physical sample.
Release the measurement method with the product revision
Changing a landmark, bag state or measurement path is a specification change even when the target number stays the same. Update the drawing, table and sample record together. Mark superseded instructions clearly so they are not reused during inspection.
The broader article on why a bag drawing is not enough for production explains how measurement pages connect with the BOM, construction callouts, artwork and approval records. The bag development checklist can be used to prepare the rest of the inquiry package.
Next action
If your bag tech pack shows dimensions but does not define measurement state or landmarks, send the current drawing, intended contents and latest sample comments through the product inquiry form. The measurement questions can be identified before the next sample is ordered.
Technical references: